In this post we’ll see how to create Java project using Maven in Eclipse IDE. For that Maven Eclipse plugin is used which comes pre-installed in Eclipse now.
Steps for creating Java Maven project in Eclipse
- Go to File – New – Maven Project
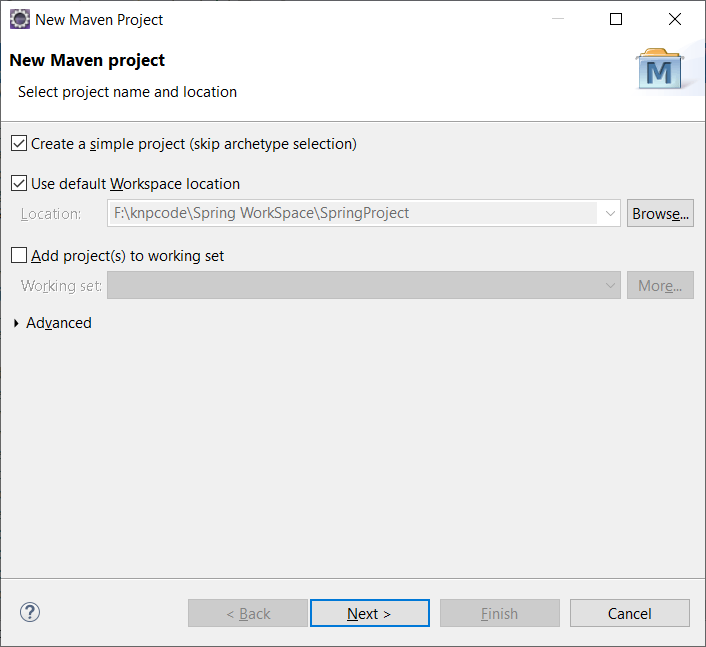
- In the "New Maven Project" window check "Create a simple project (skip archetype selection)" and click Next.
- In the next window enter group id and artifact id.
- GroupId – This is an Id of project’s group. This ID uniquely identifies the group that may have many sub-projects. For example com.knpcode.spring may contain other projects related to Spring.
- ArtifactId– This is an Id of the project. This ID uniquely identifies a project, for example SpringXML. GroupId + ArtifactId defines the artifact’s location with in the repository for example com.knpcode.spring.SpringXML

- Click finish, project structure will be created as shown below.
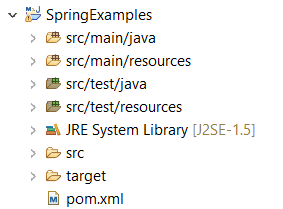
One thing that you may need to change is JRE system library which is Java 5 by default. By going to Java build path you can change the library.
That’s all for the topic Create Java Project Using Maven in Eclipse. If something is missing or you have something to share about the topic please write a comment.
You may also like
- Generate, Remove Getters and Setters in Eclipse IDE
- How to Pass Command Line Arguments in Eclipse
- Spring Dependency Injection With Examples
- Spring Boot Hello World Application
- Java String toLowerCase() And toUpperCase() Methods
- Java Reflection – Arrays
- How to Create Temporary File in Java
- How to Convert String to double in Java
No comments:
Post a Comment