In
Redux Toolkit in React With Examples we saw how to use Redux in React for storing global state. In this tutorial
we'll see what is Thunk in Redux and how to use redux-thunk with React.
What is Thunk in Redux
In terms of Redux, thunk is a pattern of writing function that takes dispatch and getState as arguments so it can
interact with Redux store using dispatch and getState.
Thunk functions are not directly called by application code, you will dispatch them.
In Redux you normally use action creators to generate action objects for dispatching, you don't write action objects
yourself. Same way, you will normally use thunk action creators to generate the thunk functions that are dispatched.
Think of thunk action creator as a function that returns a thunk function.
//thunk action creator
export const fetchPostData = (postId) => {
//thunk function
return async (dispatch) => {
const response = await fetch(`https://jsonplaceholder.typicode.com/posts/${postId}`);
const data = await response.json();
dispatch(postActions.refreshPosts(fetchedPosts));
}
Then you may call it in your component
function PostComponent({ postId }) {
const dispatch = useDispatch()
const onGetPostClicked = () => {
dispatch(fetchPostData(postId))
}
}
Why Thunks
You must be thinking why go through all this extra logic of having function with in a function then dispatch that
thunk action creator. Why not directly dispatch actions.
1. One of the most important use cases for thunk is to use async logic. One of the rules of the reducers is that reducers
must not do any asynchronous logic or any other side effects but real applications require logic that has side effects.
You can think of thunk as a function where you can have async logic but it can also facilitate interaction with the Redux
store.
redux-thunk is the most common async middleware which lets you write plain functions that may contain async logic directly.
Redux Toolkit's configureStore function automatically sets up the thunk middleware by default so you don't need to write
applyMiddleware() explicitly when creating store.
Redux library recommends using thunks as a standard approach for writing async logic with Redux.
2. Another benefit of using thunk is to keep your components leaner having only the presentation logic. For example,
you are supposed to get some data when the component renders and you want to use useEffect() hook. Rather than writing
the whole logic of fetching data, checking for errors and dispatching action with in useEffect() in that component you
can move this logic in a thunk function. From your useEffect() hook you just dispatch thunk action creator.
3. You can also use thunks for synchronous logic as per Redux library documentation "Thunks are best used for complex
synchronous logic, and simple to moderate async logic such as making a standard AJAX request and dispatching actions
based on the request results."
Redux-thunk React example
Let's try to make things clearer with an example. This redux-thunk example uses
jsonplaceholder API to fetch posts and add new post. These async fetch requests are done in thunk functions.
1. Create state slices
We'll have two state slices one for storing post state and another for notification state.
src\slice\post-slice.js
import { createSlice } from "@reduxjs/toolkit";
import { notificationActions } from "./notification-slice";
const postSlice = createSlice({
name: 'postItems',
initialState: {
posts: []
},
reducers: {
refreshPosts: (state, action) => {
state.posts = action.payload
},
addPost: (state, action) => {
const newPost = action.payload;
state.posts.push({
id: newPost.id,
title: newPost.title,
body: newPost.body,
userId: newPost.userId
})
}
}
});
// thunk action creator
export const fetchPostData = () => {
return async (dispatch) => {
const postData = async () => {
const response = await fetch('https://jsonplaceholder.typicode.com/posts');
if(!response.ok){
throw new Error('Fetching posts failed.');
}
const data = await response.json();
return data;
}
try{
const fetchedPosts = await postData();
dispatch(postActions.refreshPosts(fetchedPosts));
} catch(error){
dispatch(notificationActions.showNotification({
status: 'Error',
message: 'Error while fetching posts ' + error.message
}));
}
}
}
// thunk action creator
export const addPostData = (post) => {
return async (dispatch) => {
const insertPost = async () => {
const response = await fetch('https://jsonplaceholder.typicode.com/posts', {
method: 'POST',
headers: {
'Accept': 'application/json',
'Content-Type': 'application/json'
},
body: JSON.stringify(post)
});
if(!response.ok){
throw new Error('Inserting new posts failed.');
}
const data = await response.json();
console.log(data);
return data;
}
try{
const insertedPost = await insertPost();
dispatch(notificationActions.showNotification({
status: 'Success',
message: 'Post data successfully inserted, title is: ' + insertedPost.title
})
);
} catch(error){
dispatch(notificationActions.showNotification({
status: 'Error',
message: 'Error while inserting post' + error.message
}));
}
}
}
export const postActions = postSlice.actions;
export default postSlice.reducer;
In the code for slice, points to observe are-
- Name to identify the slice is postItems.
- Initial state value is an empty array meaning no posts.
- There are two reducer functions
refreshPosts and addPosts in those functions there is no async logic
(no side effect).
- There are two thunk action creators that’s where fetch is used to get post data or to add post data. From thunk
functions there is interaction with reducers by dispatching actions.
dispatch(postActions.refreshPosts(fetchedPosts));
dispatch(notificationActions.showNotification({
status: 'Error',
message: 'Error while fetching posts ' + error.message
}));
- Export the reducers and actions so that they can be used where needed.
export const postActions = postSlice.actions;
export default postSlice.reducer;
src\slice\notification-slice.js
import { createSlice } from "@reduxjs/toolkit";

const notificationSlice = createSlice({
    name: 'notification',
    initialState: {notification: null},
    reducers: {
        showNotification: (state, action) => {
            state.notification = {
                status: action.payload.status,
                message: action.payload.message
            };
        }
    }

})

export const notificationActions = notificationSlice.actions;
export default notificationSlice.reducer;
2. Add reducers to the store
src\store\postStore.js
import { configureStore } from "@reduxjs/toolkit";
import postReducer from "../slice/post-slice";
import notificationReducer from "../slice/notification-slice";

const store = configureStore({
    reducer: {
        post: postReducer,
        notification: notificationReducer
    }
});
export default store;
3. Provide store to React
React Redux includes a <Provider /> component, which makes the Redux store available to the React app. We'll wrap
<App /> component with the Provider which guarantees that the store provided with this Provider is available to
App component and all its child components. That change can be done in index.js file.
src\index.js
import { Provider } from 'react-redux';
import store from './store/postStore';

const root = ReactDOM.createRoot(document.getElementById('root'));
root.render(
  <React.StrictMode>
    <Provider store={store}><App /></Provider>
  </React.StrictMode>
);
4. Using thunk in Components
For fetching posts and displaying them there are two components Posts.js and PostItem.js.
For showing notification there is Notification.js.
src\components\Notification\Notification.js
const Notification = (props) => {
  return (
    <div className="alert alert-primary" role="alert">
      <p>{props.status} : {props.message}</p>
    </div>
  );
};

export default Notification;
Here Bootstrap classes are used to show alert notification.
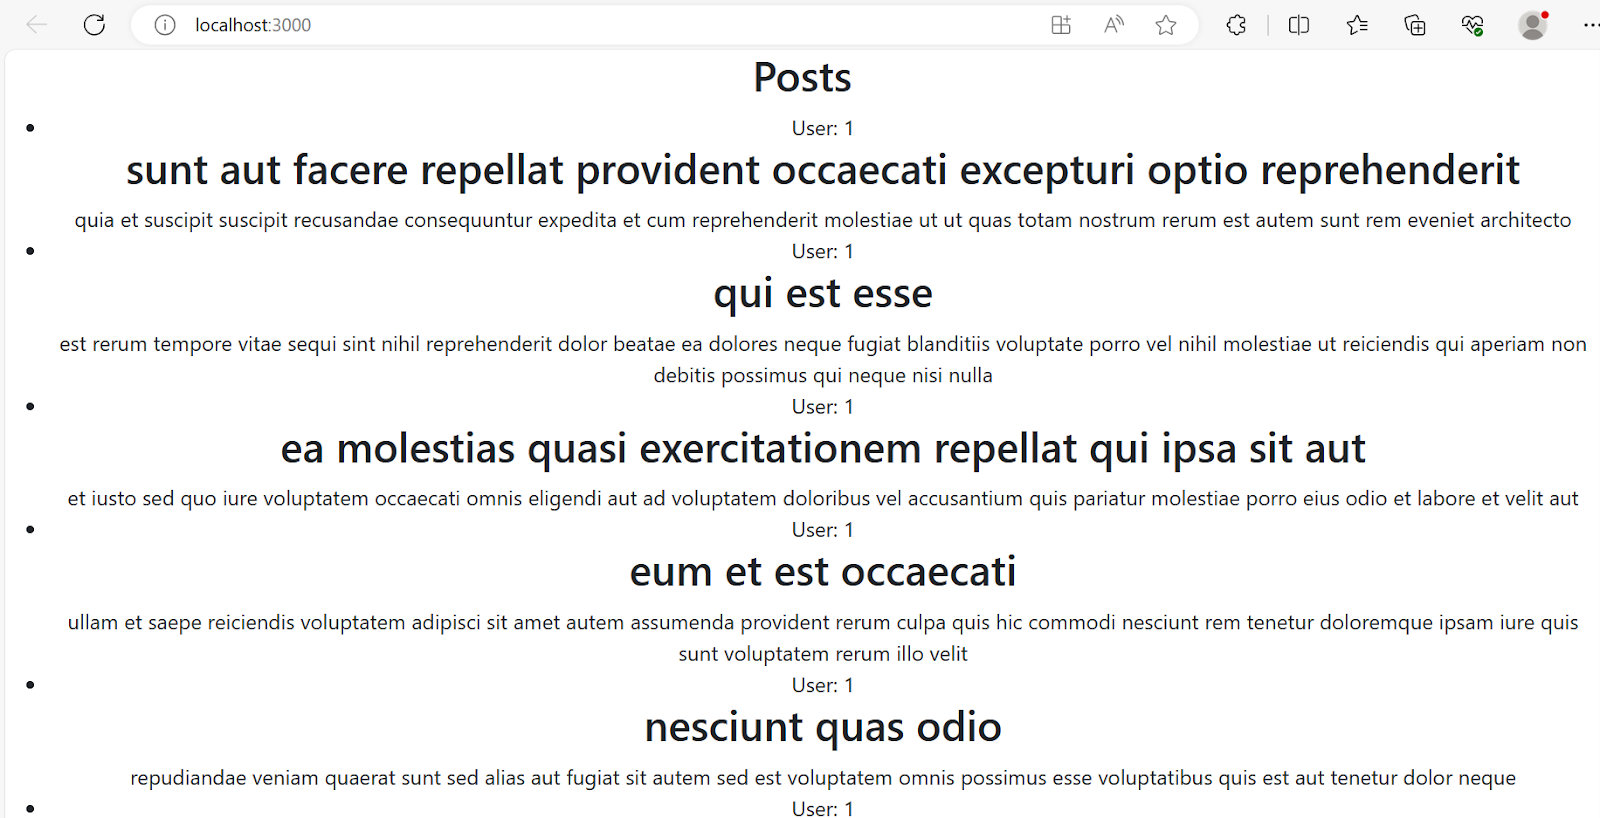
src\components\Post\Posts.js
This component dispatches thunk function in useEffect() and then loops over the fetched posts to display them using
PostItem component.
import { Fragment, useEffect } from "react";
import { useDispatch, useSelector } from "react-redux"
import { fetchPostData } from "../../slice/post-slice";
import Notification from "../Notification/Notification";
import PostItem from "./PostItem";


const Posts = () => {
    const posts = useSelector(state => state.post.posts);
    const notification = useSelector(state => state.notification.notification);
    const dispatch = useDispatch();

    useEffect(() => {
        dispatch(fetchPostData());
    }, [dispatch])

    return (
        <Fragment>
             { notification && <Notification status={notification.status}
            title={notification.title} message={notification.message}/> }
            <h2>Posts</h2>
            <ul>
                {
                    posts.map(post=> (
                        <PostItem key={post.id} post={post}></PostItem>
                    )
                )}
            </ul>
        </Fragment>
    );
}

export default Posts;
Points to observe in the above code are-
- useSelector() hooks allows you to extract data from the Redux store state. useDispatch() hook is used to dispatch actions.
So, these hooks are imported from react-redux
- Using useSelector() get the post state and notification state from the store.
- In useEffect() hook dispatch thunk action creator which in turn executes thunk action with async logic. Once
posts are fetched, dispatch action to modify state array (refer fetchPostData in post-slice.js) or dispatch action
to notification in case of error. Once state changes Posts component is re-rendered to show posts.
- There is also conditional rendering of notification if notification is not null.
src\components\Post\PostItem.js
const PostItem = (props) => {
    return (
        <li>
            <span>User: {props.post.userId}</span>
            <h2>{props.post.title}</h2>
            <span>{props.post.body}</span>
        </li>
    );
}

export default PostItem;
I can test Posts component by adding this element to App.js
function App() {
return (
    <div className="App">
        <Posts />
    </div>
  );
}
If I just change the URL to get some error-
const response = await fetch('https://jsonplaceholder.typicode.com/pos');
Adding post
For adding new post following component is used.
src\components\Post\AddPost.js
import { Fragment } from "react";
import { useState } from "react";
import { useDispatch, useSelector } from "react-redux";
import { addPostData } from "../../slice/post-slice";
import Notification from "../Notification/Notification";

const AddPost = () => {
    const notification = useSelector(state => state.notification.notification);
    const dispatch = useDispatch();
    const [formField, setState] = useState({
        title: '',
        body: '',
        userId: ''
    });
    const handleInputChange = (event) => {
        const target = event.target;
        const value = target.value;
        const name = target.name;

        setState((prevState) => {
            return {...prevState, [name]: value};
        });
    }

    const formSubmitHandler = (event) => {
        event.preventDefault();
        dispatch(addPostData({
            title: formField.title,
            body: formField.body,
            userId: formField.userId
        }));
    }

    return(
        <Fragment>
            { notification && <Notification status={notification.status}
            title={notification.title} message={notification.message}/> }
            <form onSubmit={formSubmitHandler}>
                Title: <input type="text" placeholder="Enter Title" name="title" onChange={handleInputChange}></input>
                Body: <input type="text" placeholder="Enter Post Content" name="body" onChange={handleInputChange}></input>
                User ID: <input type="number" placeholder="Enter User ID" name="userId" onChange={handleInputChange}></input>
                <button type="submit" onClick={formSubmitHandler}>Add Post</button>
            </form>
        </Fragment>

    );

}

export default AddPost;
Points to observe in the above code are-
- Uses useState() hook to get form fields state.
- At the click of “Add Post” button, formSubmitHandler() function is called where thunk function to add post is dispatched.
- If you notice in post-slice from thunk function actions are dispatched to change notification state.
Source-
https://redux.js.org/usage/writing-logic-thunks
That's all for the topic Redux Thunk in React With Examples. If something is missing or you have something
to share about the topic please write a comment.
You may also like